Fair Trade Recipes - AlterNativa3

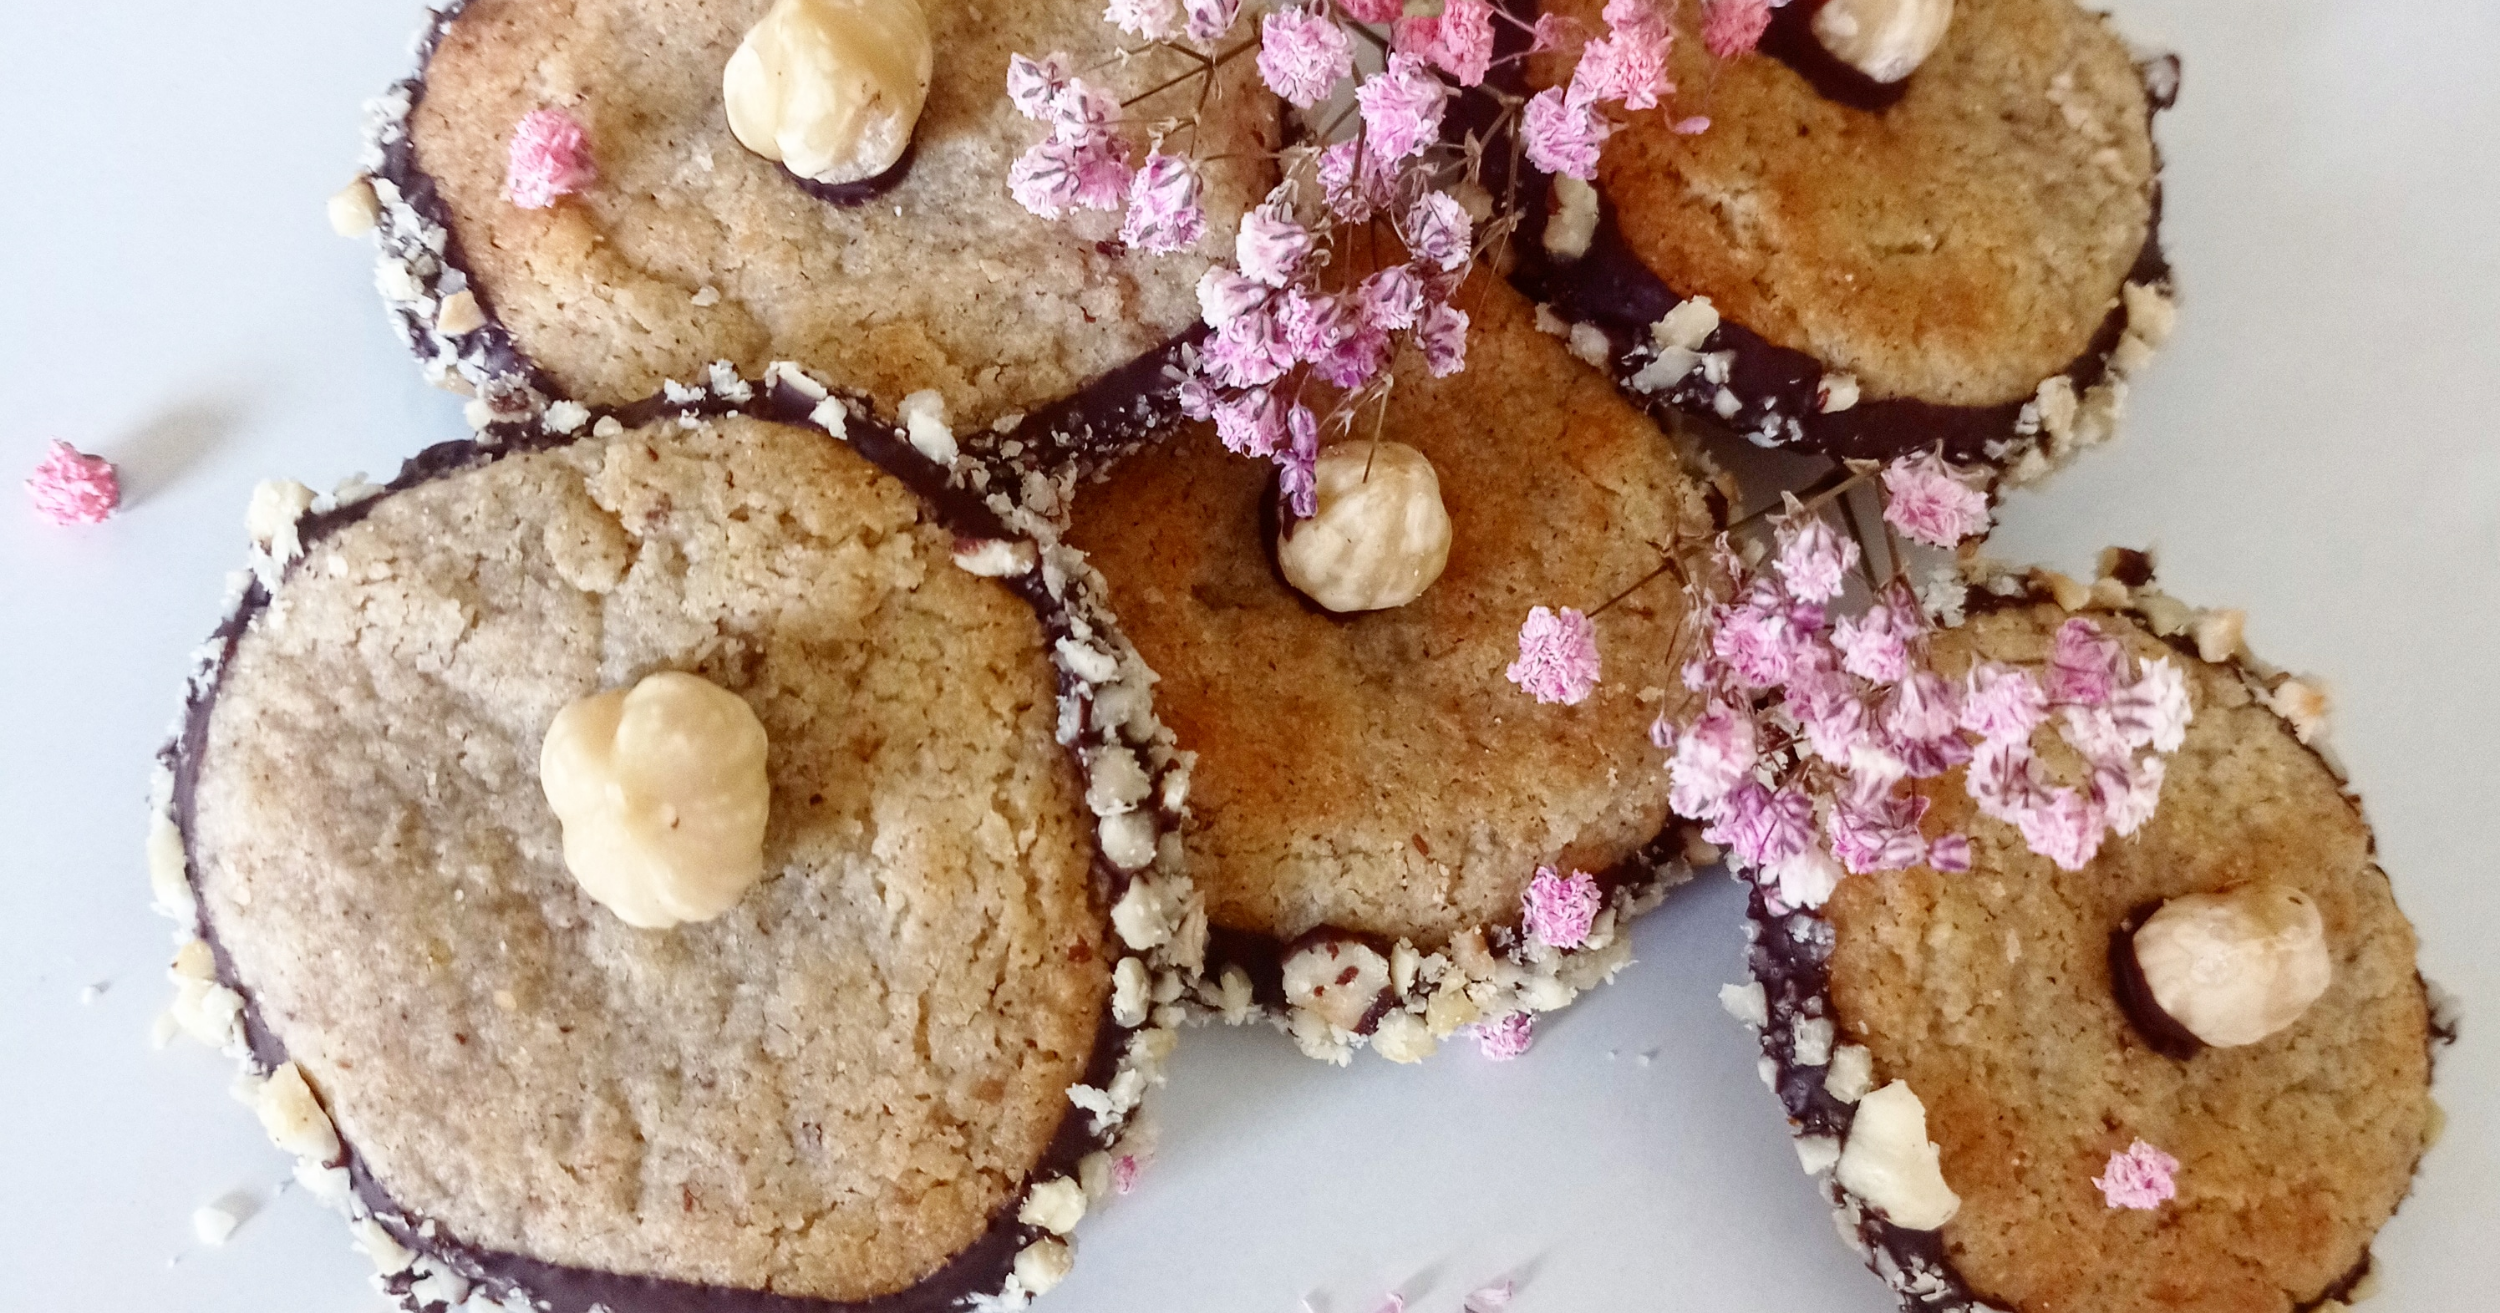
Today we bring you a recipe for hazelnut biscuits with a chocolate border following the step-by-step @drabeatiful. Perfect for breakfast and snacks, these biscuits have a texture similar to butter biscuits that you'll love! All set, let's get started!

Ingredients

  • 90 g almond flour
  • 60 g cold butter in cubes
  • 60 g Greek coconut yoghurt
  • 50 g erythritol
  • 70 g roasted hazelnut flour
  • ½ teaspoon ceylon cinnamon
  • Lemon zest
  • Chocolate 100 % by AlterNativa3
  • Roasted hazelnut

Step by step

  1. Put all the ingredients in a bowl and knead until you have a smooth dough.
  2. Wrap it in cling film and leave it in the fridge for at least one hour.
  3. Then roll out the dough between two baking papers with a rolling pin and cut out circles about half a centimetre thick.
  4. Then bake them in the oven for about 7 minutes. We must not exceed this time because they will continue to gain consistency out of the oven while they cool down, we don't want them to burn!
  5. Now that they are cool, it's time to decorate! Melt our 100 % chocolate in a bain-marie and dip the edges of the biscuits in it.
  6. Repeat the operation with the toasted hazelnut, which will stick to the chocolate.
  7. Finally, dip a whole hazelnut in the chocolate and place it in the centre of the biscuit. Leave to cool so that the chocolate becomes solid and enjoy!

Now you have your recipe for hazelnut biscuits with a chocolate border, can you show us the result?

Mocha chai biscuit recipe! Sounds like a good plan for an afternoon snack, or for breakfast or... for any time of the day! @drabeatiful He prepared them with tahini, but if you don't like the strong taste of sesame, you can opt for white tahini or an unroasted white almond or cashew cream and replace the ground sesame with almond flour.

Ready to get into the kitchen? Discover the step-by-step!

Ingredients

  • 115 g tahini
  • 70 g butter at room temperature
  • 60 g erythritol
  • 100 g ground sesame seeds
  • 10 g vegan vanilla protein (or add more sesame flour and vanilla essence)
  • 1 tablespoon of the cocoa chai from AlterNativa3
  • 1 teaspoon of the chai coffee from AlterNativa3 sun drying
  • 1 egg
  • ¼ teaspoon psyllium
  • A pinch of salt
  • ½ teaspoon Royal baking powder 
  • ⅛ teaspoon baking soda, aluminium-free

Step by step

  1. Beat the tahini and butter until smooth.
  2. Continue beating at low speed and add the erythritol and the egg.
  3. Then add the sieved dry ingredients and continue beating until you get a homogeneous dough.
  4. Now roll the biscuits into slightly flattened balls, coat them with the vanilla protein and put them in the fridge for at least two hours.
  5. Finally, bake at 170 g for about 15 minutes and allow to cool completely before handling. Please note that they continue to harden outside the oven.

Now you have your recipe for moka chai biscuits. Easy, don't you think? enjoy!

How to prepare a mocha chai brownie recipe using AlterNativa3 products? @drabeatiful brings us the ingredients and step-by-step instructions for you to enjoy homemade brownies for a snack, for dessert or... whenever you want! Read on and prepare them with us.

Ingredients:

For coverage:

Step by step:

  1. Preheat the oven and prepare the tray we are going to use.
  2. Melt the chocolate with the coconut oil in a bain-marie. Then add half of the erythritol and stir on the heat until it dissolves, without boiling.
  3. Separate the egg yolks from the egg whites and whip the egg whites until stiff with the other half of the erythritol. Set aside.
  4. Mix the chocolate, cocoa, coffee, vanilla protein and salt with the egg yolks and gradually whisk in the egg whites until stiff with a spatula in an encircling motion. 
  5. Put everything in a baking tin or in several individual baking pans and bake in the oven for about 18 minutes.
  6. For the topping, we use coconut cream, butter and natural vanilla flavouring. We beat it all together and, finally, we pour the AlterNativa3 cocoa chai on top.

Ready to enjoy your moka chai brownie recipe?

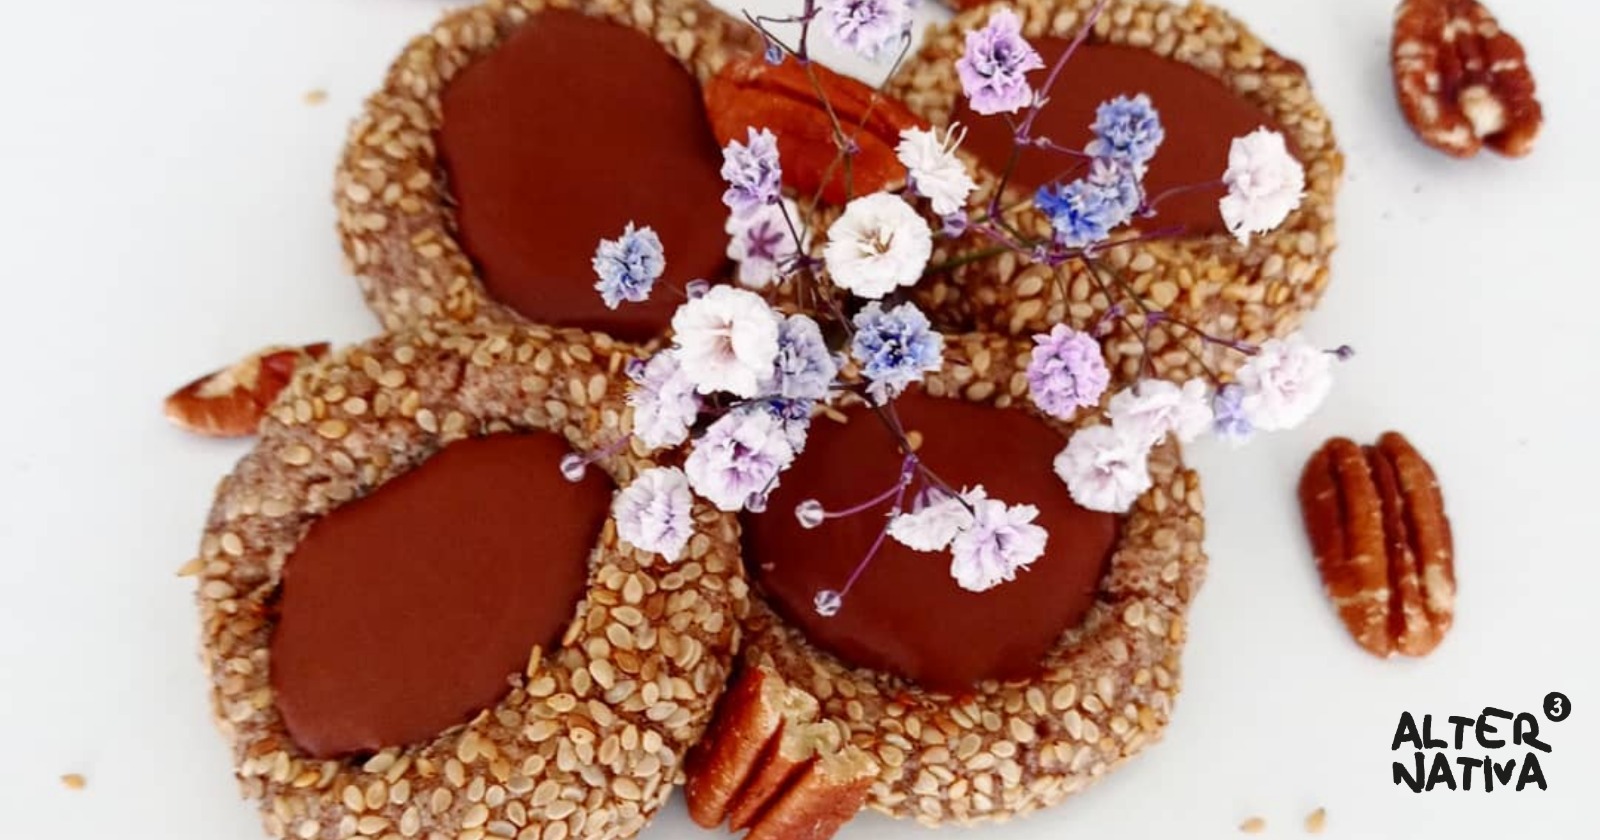
Would you like to try a vegan biscuits recipePerfect! @drabeatiful She explains how to prepare them with pecan nuts and a delicious chocolate cream filling - don't miss the step-by-step!

Ingredients

For the biscuits:

  • 80 g ground pecans or other nuts to taste
  • 2 tablespoons erythritol
  • 2 tablespoons white tahini
  • ¼ cup vegetable almond drink (or your choice of almond drink)
  • A pinch of salt
  • Sesame seeds

For the filling:

Step by step

  1. First, grind all the ingredients, except those reserved for the filling and the sesame seeds, to obtain a dough.
  2. We then make small balls, each with one or two tablespoons of dough, and roll them in the sesame seeds to coat them. Flatten slightly and, using the back of a teaspoon, create a hemisphere for the filling.
  3. Bake for about 15 minutes and then allow the biscuits to cool completely before filling.
  4. For the filling, mix the solid part of the coconut milk with the chocolate. Heat it all in a bain-marie and mix so that both ingredients are well integrated.
  5. Remove the mixture from the heat and leave it to stand for a while to give it texture.
  6. Finally, fill the biscuits and put them in the fridge until the filling solidifies.

Have you got everything you need to prepare this vegan biscuit recipe? Enjoy!

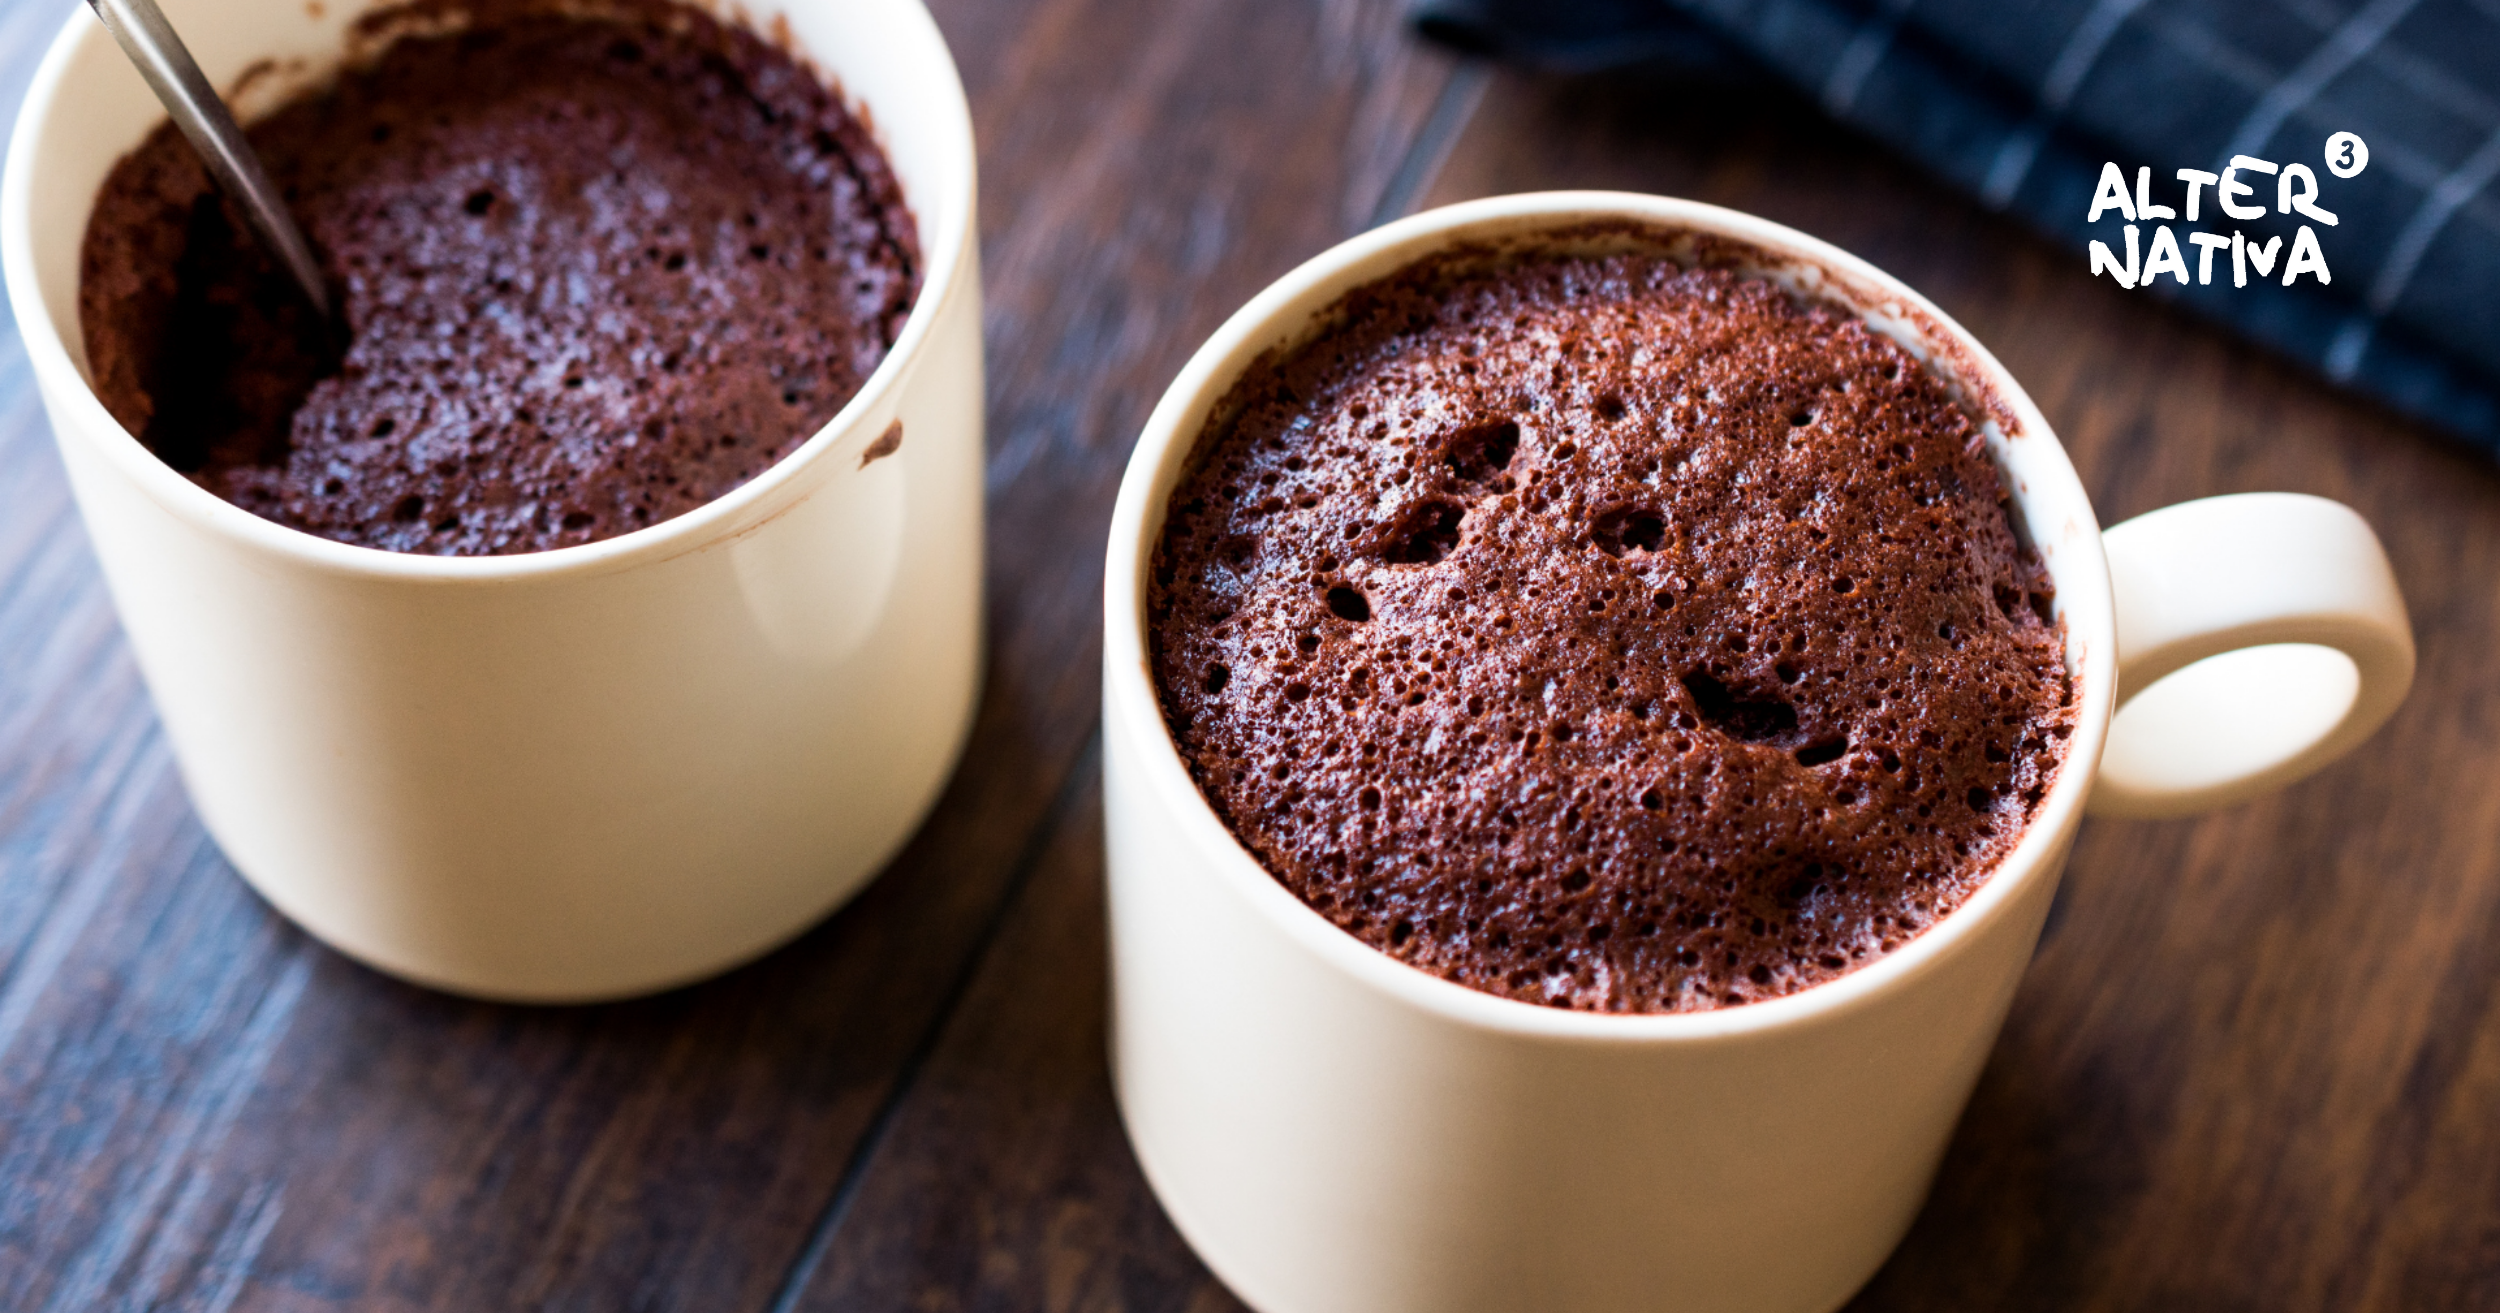
Would you like to learn how to prepare the choco mug cake recipe in just 3 minutes? Done! Use our pure cocoa promotion and follow the simple steps below - you'll love it!

Ingredients (1 bowl or 2 cups)

  • 4 tablespoons flour
  • 2 tablespoons sugar
  • 3 tablespoons cocoa powder, unsweetened
  • A pinch of salt
  • 1 medium egg
  • 3 tablespoons milk
  • 1/4 teaspoon vanilla extract
  • 3 tablespoons melted and cooled butter
  • 3 tablespoons chocolate chips

Step by step

  1. Add the dry ingredients to the bowl: flour, sugar, cocoa powder and salt. Then mix well with a fork.
  2. Then add milk, egg, butter, chocolate chips and vanilla extract.
  3. Put the cup in the microwave for approximately 2 minutes at 800 watts. If it is still uncooked, continue cooking in batches of 30 seconds.

And that's it! If you have decided to prepare this choco mug cake recipe, why don't you share the result with our profile of Instagram?

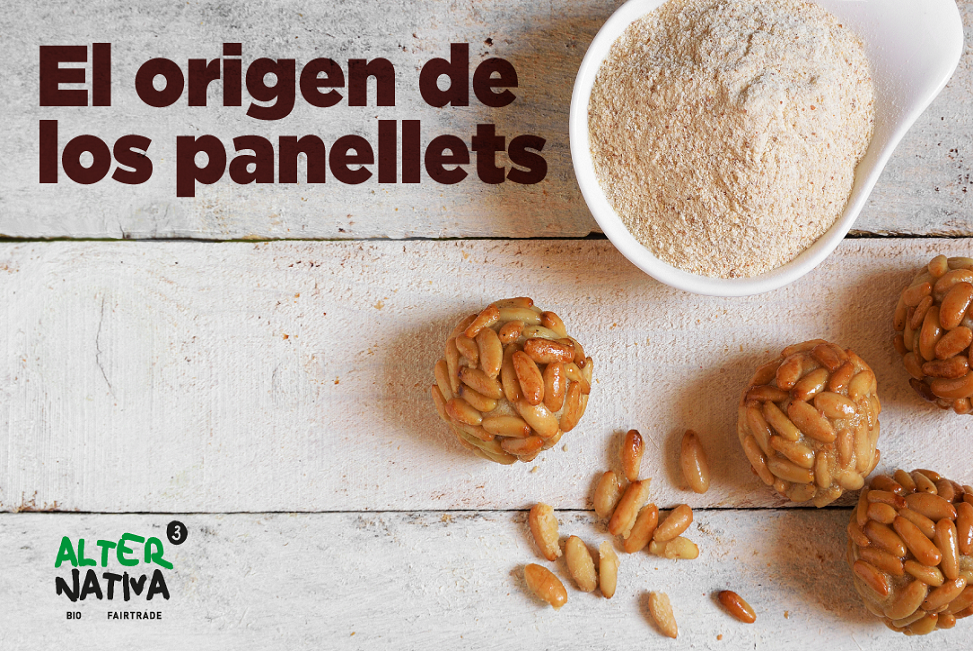
Although the origin of panellets is, to a certain extent, uncertain, but there are some beliefs that are quite deep-rooted. The truth is that, with the Castanyada, these delicious sweets become an essential delicacy in our homes. And at AlterNativa3 we wanted to take a look at this tradition.

Panellets are closely linked to Catalan culture, although they have spread to other autonomous communities. Would you like to find out more about where they come from? Read on!

The origin of panellets as an offering to the deceased

It is believed that the origin of panellets dates back to the 18th century, when were made to be taken to the graves of the deceased as an offering.. At that time, the peasants used the dried fruits they had collected. Then they took the sweets to church to bless them and finally they offered them in the cemeteries.

This, of course, was only the beginning. There is evidence that panellets began to be raffled at popular festivals in Barcelona. This happened in 1796, and from then on they became increasingly popular. Little by little, they spread and their heyday came in the 19th century, when the number of cake shops began to proliferate.

What happened next, you know!

European Food Quality Label in 2002

A major milestone in the history of panellets was reached in 2002, when obtained the European Food Quality Label.. In fact, they were the first European product to do so! And of course, they have become a highly prized sweet and, of course, a classic of our traditions.

Nowadays, there are countless recipes. It is true that the traditional recipe is the one with marzipan and pine nuts, but also that we have a great variety of possibilities! With cocoawith coffeeDon't forget to use organic and Fair Trade ingredients so that your panellets are good for both people and the planet!

Tell us: which is your favourite version? Whatever it is, now that you know the origin of panellets, It's time to start preparing them!

3 irresistible recipes that we will present and prepare at BioCultura Barcelona 2019Put on your apron, take paper and pencil and write down!

Nutella with cinnamon and orange recipe

Ingredients you will need:

200 g roasted and peeled hazelnuts

15-20 g of pure cocoa with cinnamon and orange

4 Medjool dates

120 g vegetable hazelnut drink

1 teaspoon vanilla, liquid or powdered

Preparation:

  1. Grind the roasted hazelnuts in a food processor to a creamy spread.
  2. Add the pure cocoa with cinnamon and orange, the vegetable drink and the vanilla and mix well.
  3. Add the pitted dates and blend until well incorporated.
  4. Store in a glass jar in the refrigerator.

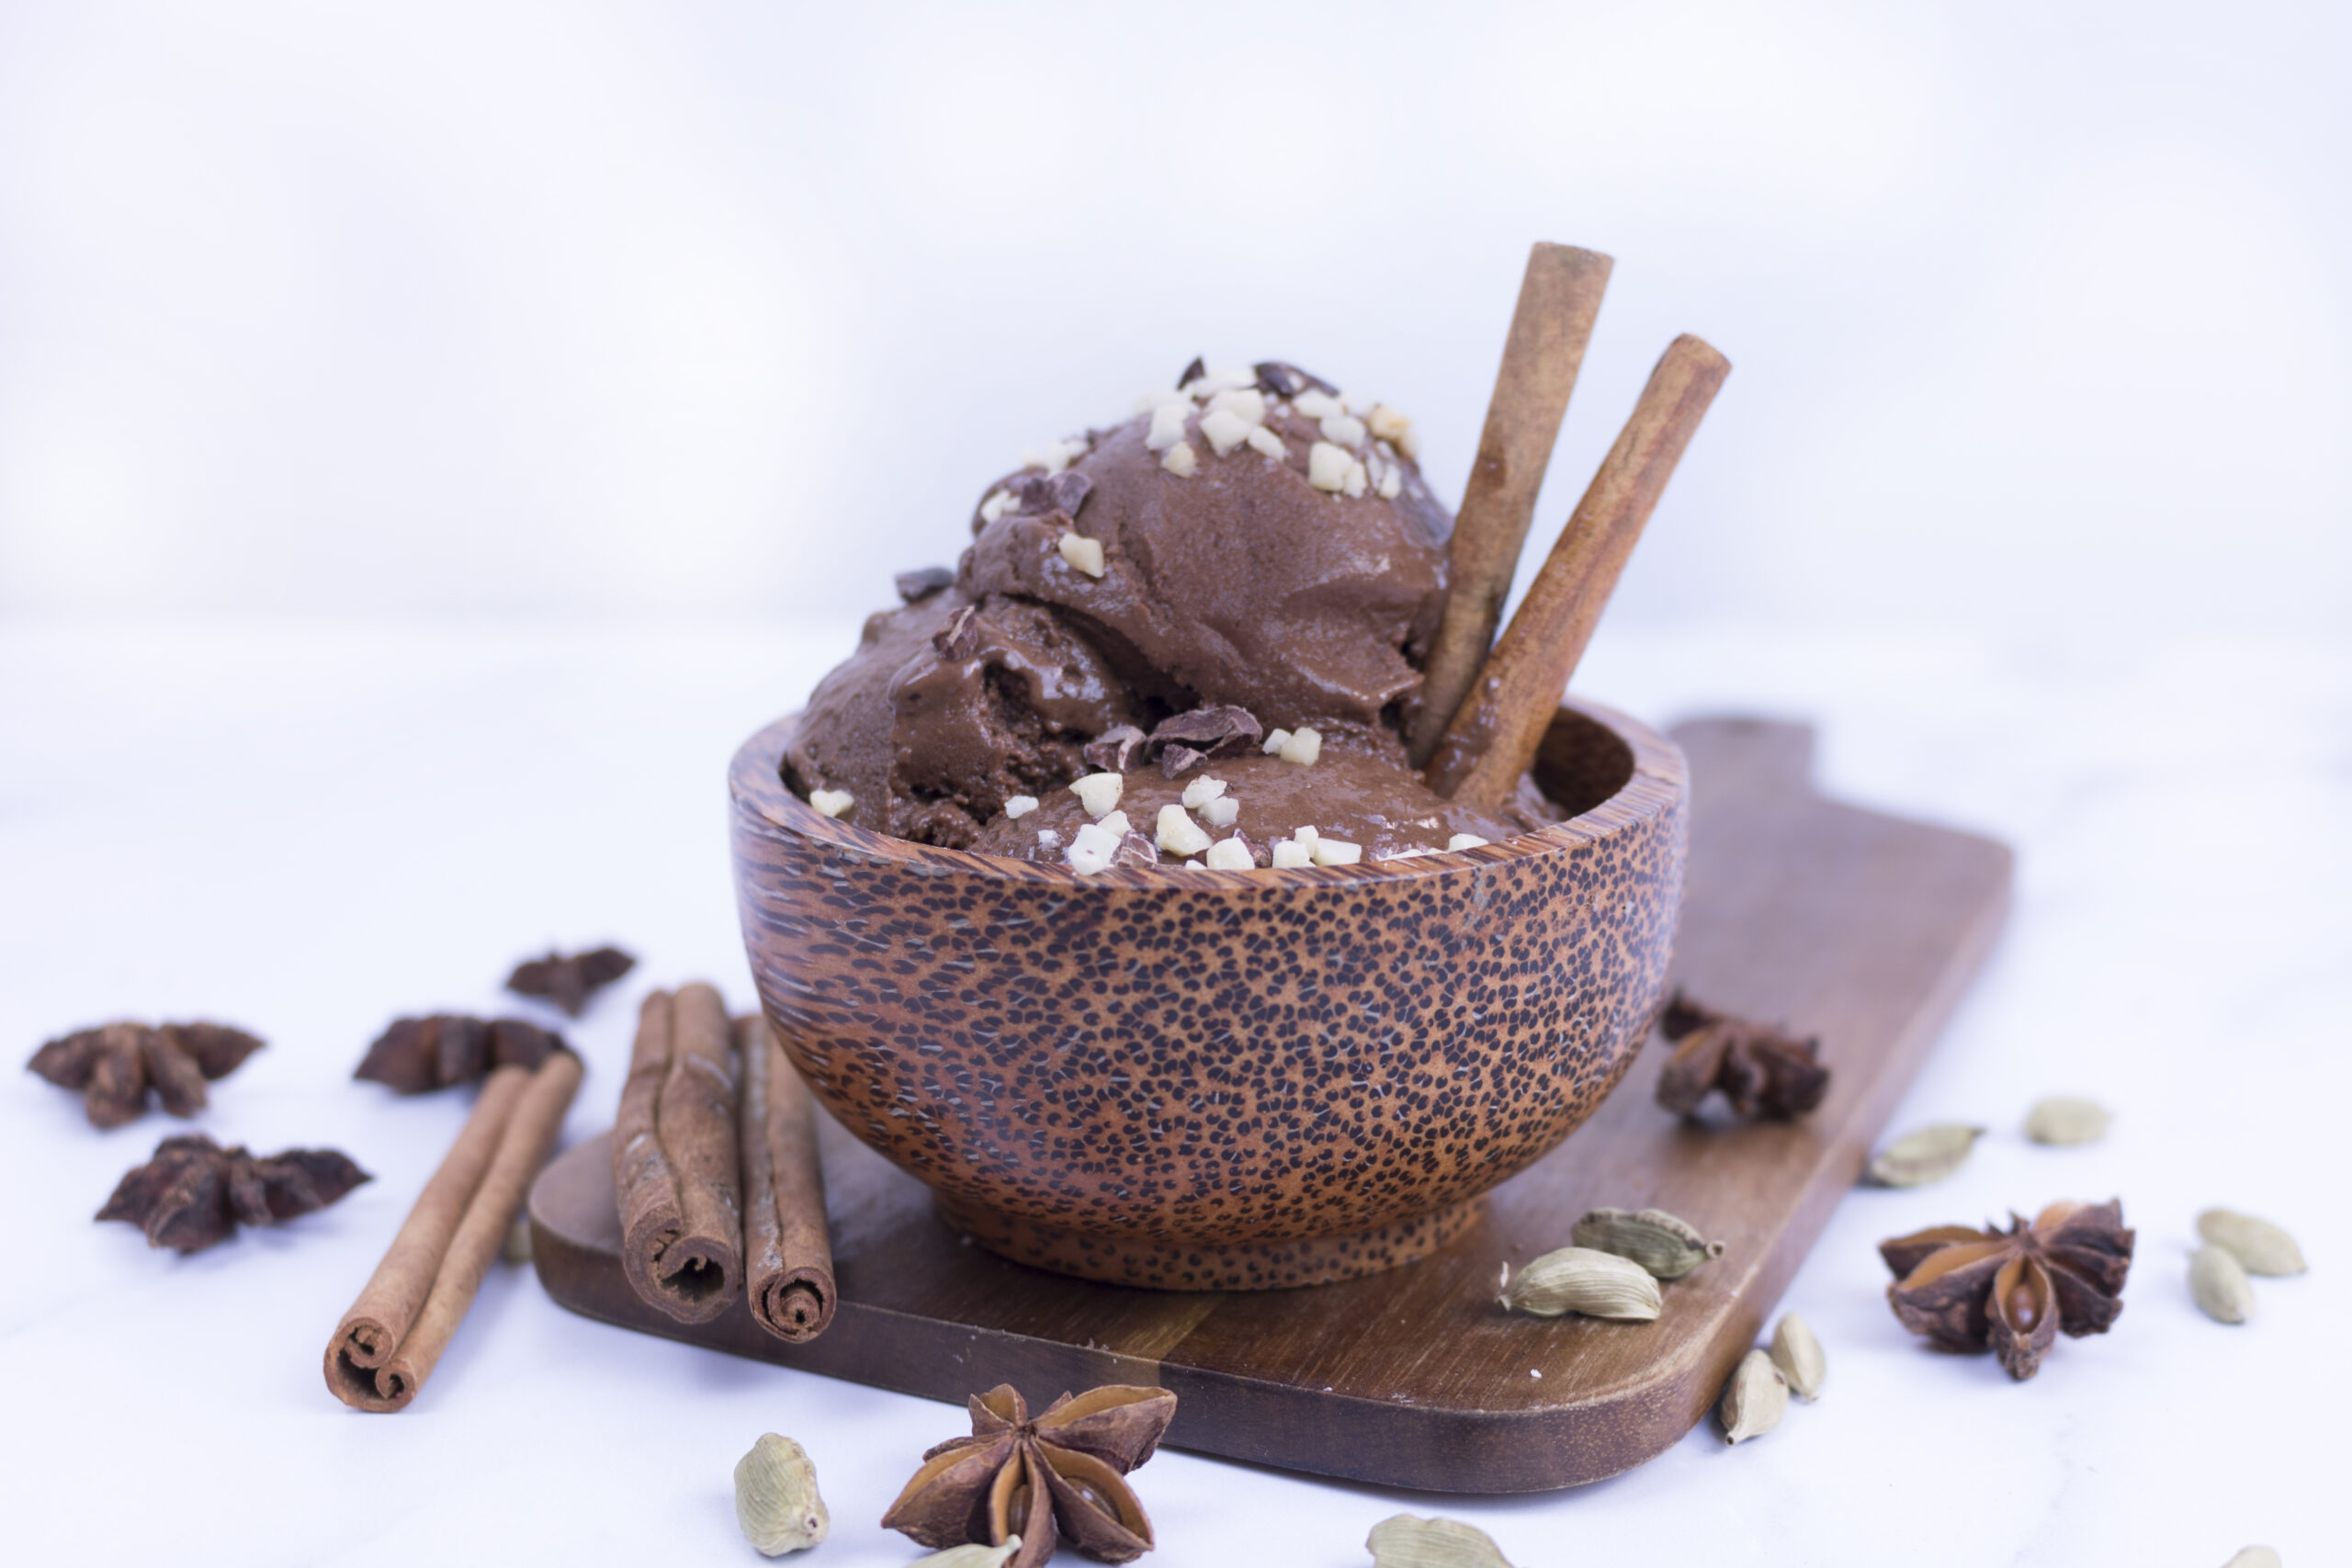
Spiced cocoa ice cream recipe

Spiced cocoa ice cream recipe

Ingredients you will need:

4 ripe bananas, frozen

40 g of cocoa with chai spices

40 g unsweetened vegetable almond drink

25 g almond cream spread

Preparation:

  1. The night before, peel the bananas, cut them into medium-sized slices and freeze them.
  2. The next day, in a powerful blender, blend the frozen bananas with the pure cocoa with chai spices, the vegetable drink and the almond cream until a homogeneous texture is obtained.
  3. Serve the ice cream with the toppings desired. If, due to friction, it has become quite crumbly, store it in the freezer for a few hours before serving.

Cacao, maca and ginger truffles with almond crisp recipe

Cacao, maca and ginger truffles with almond crisp

Ingredients you will need:

150 g hazelnuts or almonds

70 g carrot

6 Medjool dates

20 g of extra virgin coconut oil

20 g pure cocoa with maca and ginger

Ingredients for the topping:

120 g dark chocolate 85%

Almond croquant

Preparation:

  1. In a food processor, grind the hazelnuts or roasted almonds with the carrot (peeled and chopped) to a paste as finely ground as possible.
  2. Add the dates, coconut oil and pure cocoa with maca and ginger and continue blending for a few seconds until well incorporated. Keep the dough in the fridge for 1 hour.
  3. Once cooled, roll into medium-sized balls and set aside.
  4. Melt the chocolate in a bain-marie and dip the balls, one by one, with the help of two forks to drain off the excess coating. Place them on a non-stick surface.
  5. Top with almond crisp.
0
    Your shopping cart
    Your shopping cart is emptyBack to the shop